Part 1 of 3:
Part 2 of 3:
Part 3 of 3:
Monday, November 10, 2008
Monday, November 3, 2008
Wednesday, October 29, 2008
Tuesday, October 21, 2008
DIY: 1993 Toyota Pickup 2wd v6 rear shock replacement
In this video we show you how to install a rear shock absorber on a 1993 Toyota pickup 2wd v6. We replace the factory shock absorber with a new heavy duty shock absorber.
Monday, October 20, 2008
DIY: 2001 Lexus GS300 Magnefine Power Steering Filter Install
In this video we show you how to install a Magnefine power steering filter into a 2001 Lexus GS300 that was having some power steering troubles. After installing this filter, all the troubles went away and the steering is smooth as butter.
Thursday, October 2, 2008
DIY: Mazda RX8 6MT OEM Radio Removal
In this video we show you how to remove the factory radio from a first generation Mazda RX8 6MT.
Thursday, September 4, 2008
Saturday, August 23, 2008


Tuesday, July 15, 2008
Grand Canyon, Las Vegas Road Trip: June 30th, 2008
By the time we started driving on I40, my eyes were becoming foggy. I decided to increase my speed from a speed-limit induced 65mph to a break neck 90mph. I didn't hold out long though. Around 2am, we stopped for gas in
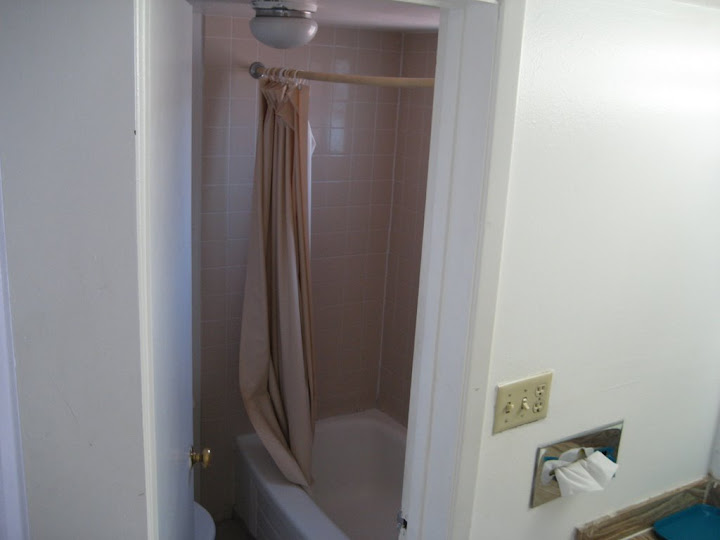
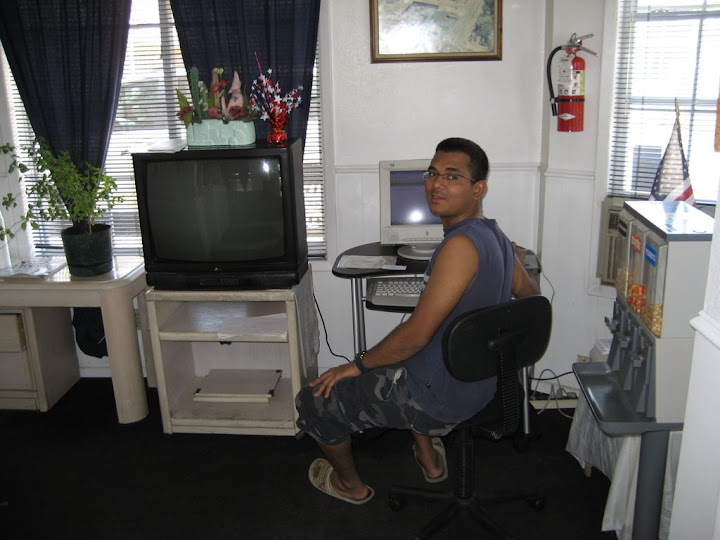
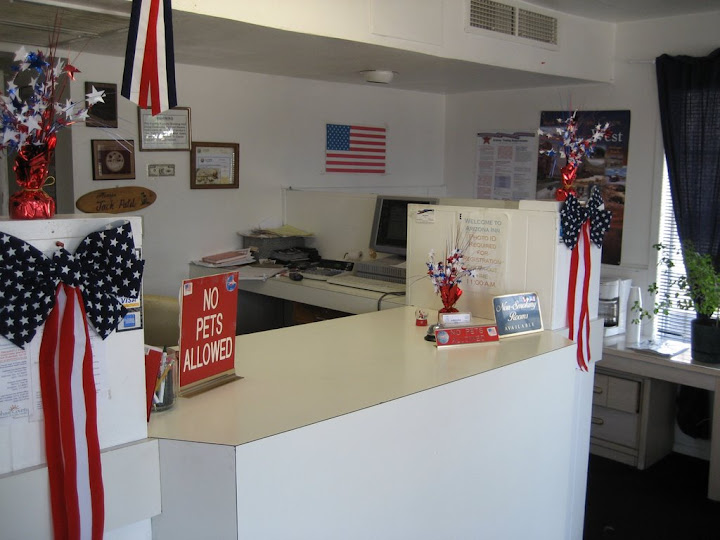
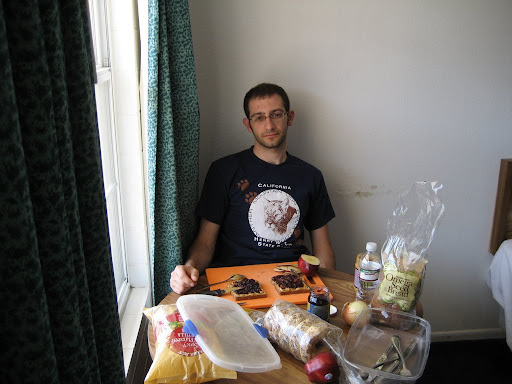
Rohit and I were debating whether we should continue on route towards our campground, or if we should spend the night somewhere closer. We drove by one of the local motels, the Arizona Inn, and Rohit got out to talk to the innkeeper. He came back and told me it would cost $39 + tax to spend the night. We proceeded to get gas, and then had a makeshift dinner of fruits, vegetables, and peanut butter across the street from the Chevron gas station. Although we could’ve stayed at the gas station to eat our food, there were too many bugs around, so we headed over to the jack-in-the-box parking lot across the street.
After we finished our food, the decision to sleep in Kingsman was final, and we drove back to the Arizona Inn.
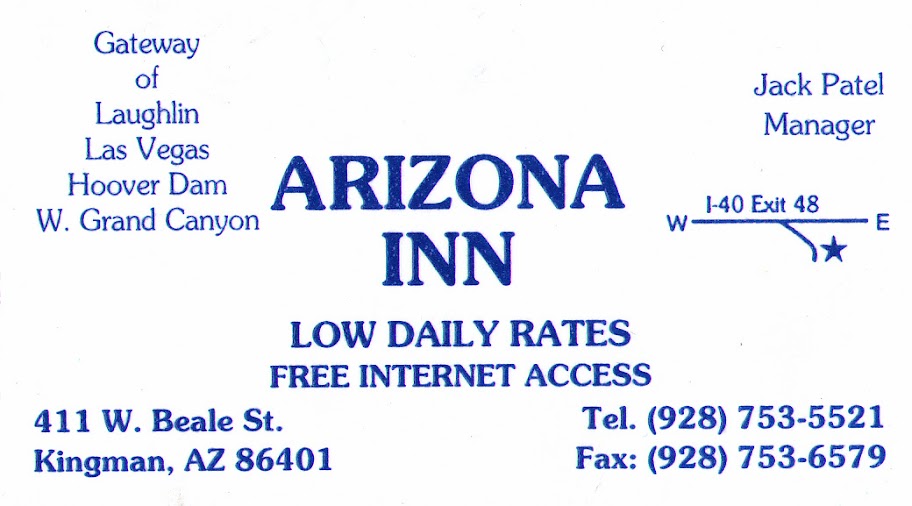
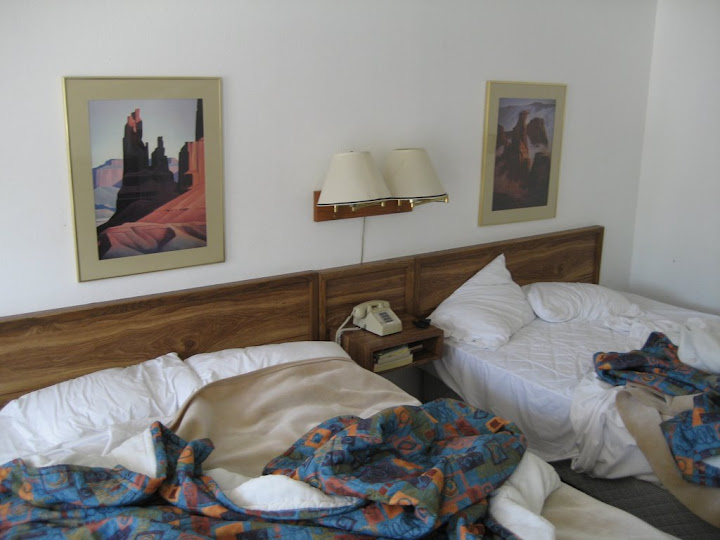
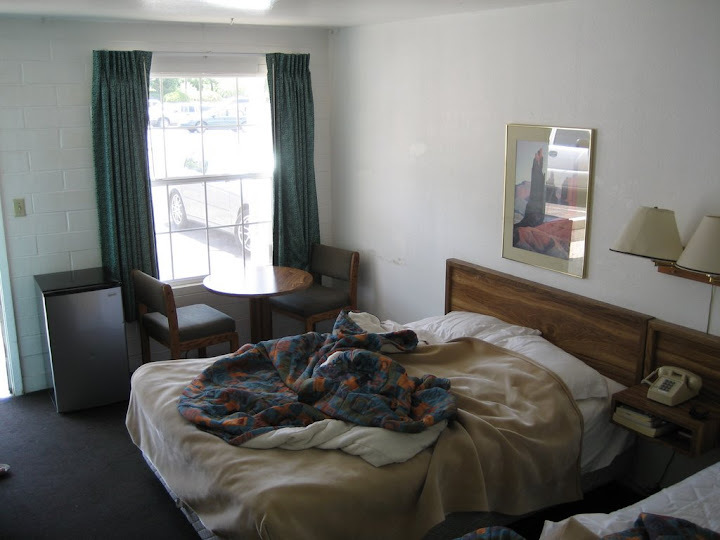
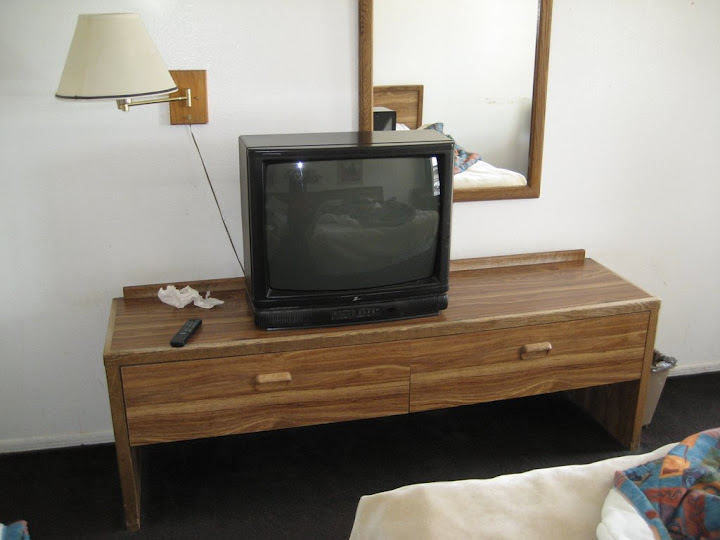
The hotel was nice; it wasn't fancy by any means, but the sheets were clean, it was air-conditioned, and of course it was very cheap!
The following morning I made peanut butter & jelly sandwiches for breakfast. I also made some bagel sandwiches so that Rohit & I would have something to eat a few hours later.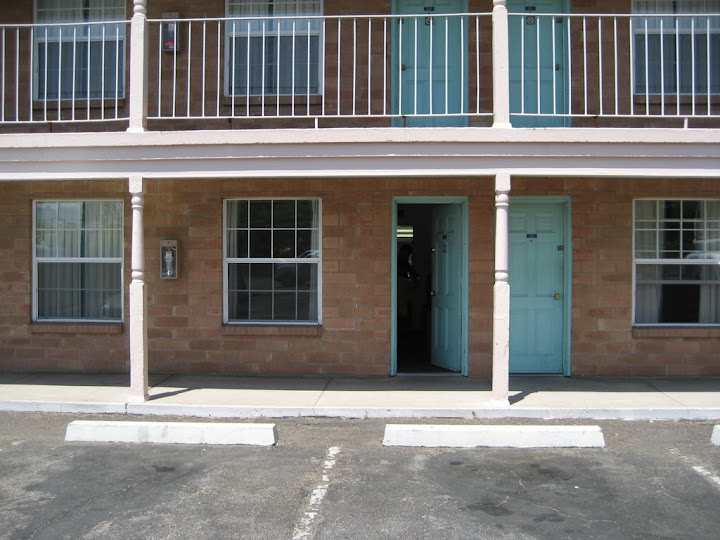


We continued on our journey and finally got to Williams, AZ.
We walked around a bit and ate some pizza. Then waited in some really annoying traffic on the way to the Kaibab National Forest, to set up our campsite at TEN-X campground.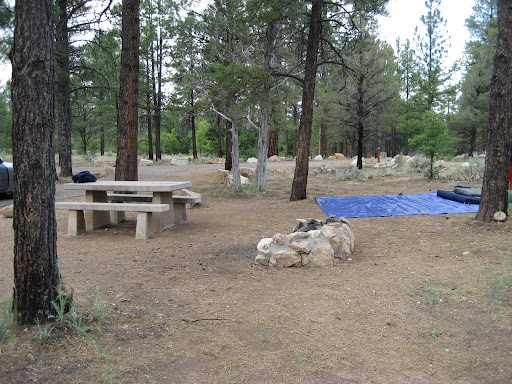
After setting up our campground and gathering some firewood & pine cones, we drove about 5 minutes to the nearby town of Tusayan, to find out where the showers were, and discover the different stores in town. The showers were right behind the general store in the RV Camper Village compound. To take a shower, all I had to do was insert 6 quarters, and I was instantly given 6 minutes of shower time. I would deposit more quarters at any time, and would be given another minute for each quarter deposited.
That evening we barbequed a lot and went to sleep... 
Sunday, July 6, 2008
Grand Canyon, Las Vegas Road Trip: June 29th, 2008
Packing & Leaving
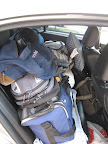
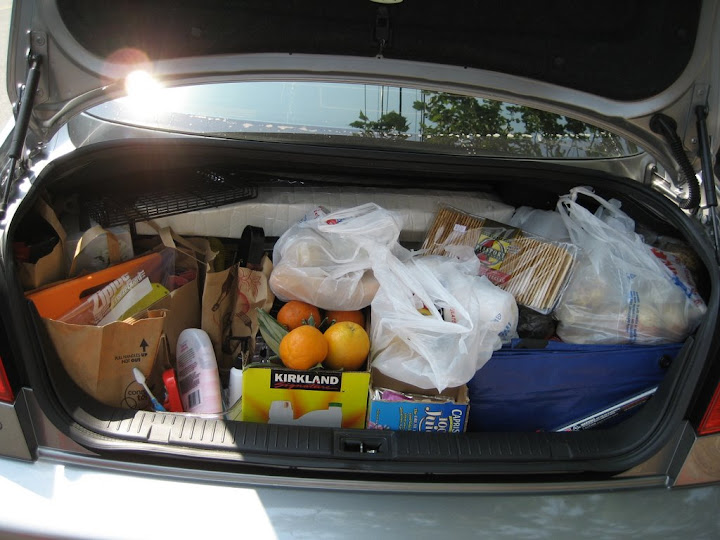
We left San Jose at around 1pm from Rohit’s apartment. We’d stayed up ‘till 3am loading the car with goodies and making sure we had everything we needed for the long drive. We tried to plan ahead as much as possible. A few days before our departure date, we had compiled a somewhat comprehensive list of everything we needed to bring with us...
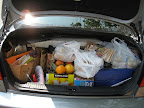
Initially, I was thinking we could take at least another two people with us, so I posted an AD through craigslist, however, nobody replied and that turned out to be a good thing, since there was zero space left in the trunk and no room to sit in the back seat.
As part of our planning, we had picked out three spots to stop at along the way to the Grand Canyon.
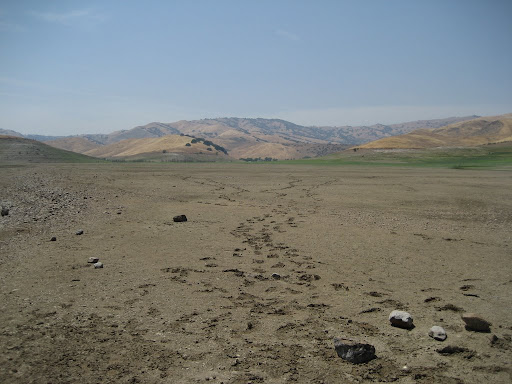
San Luis Reservoir
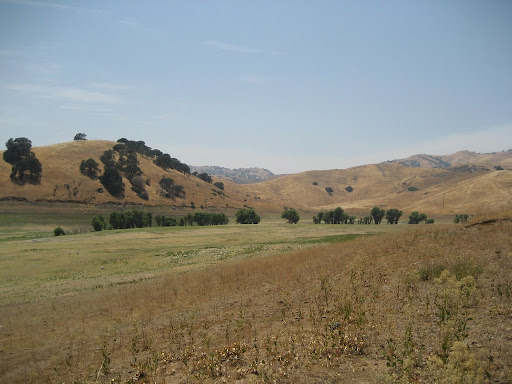
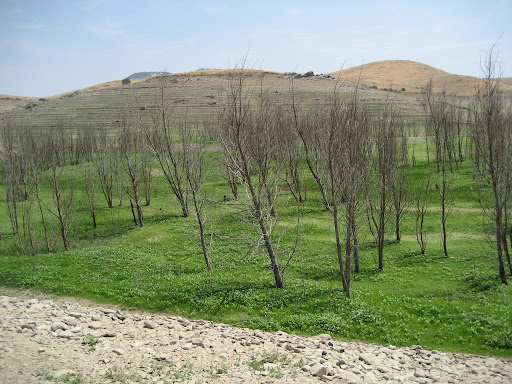
Our first stop presented us with an opportunity to do a short hike to a place where I’ve driven by many times over the years. We initially wanted to stop at the trail head for the main trail in the area, but we didn’t feel like wasting our time searching for it; instead, we settled for a parking an alternate route.
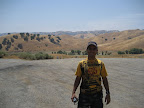
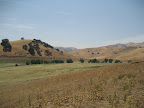
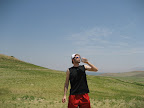
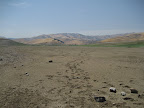
After hiking for a few minutes, we had an opportunity to walk where water once covered the ground just a few years ago.

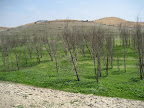
Following a brisk descent, we started walking on sediment to the water source in the distance. Along the way, we found old beer bottles that were probably tossed by fisherman when water covered the ground, and other miscellaneous items.
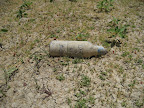
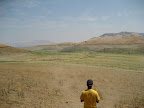
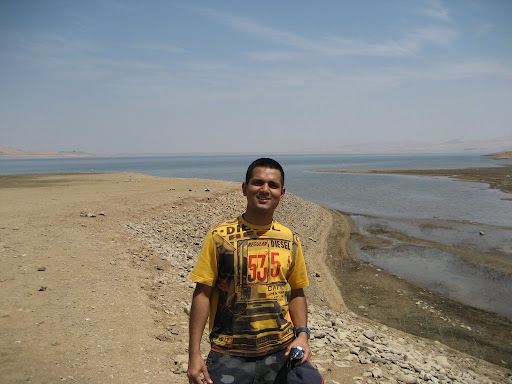
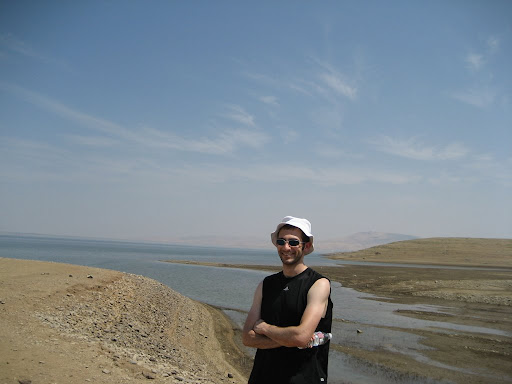
And it was really hot down there…
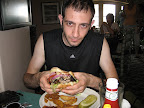
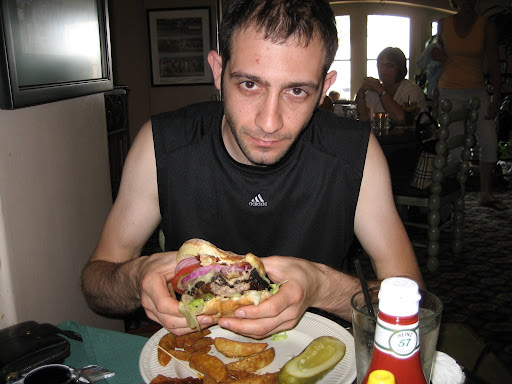
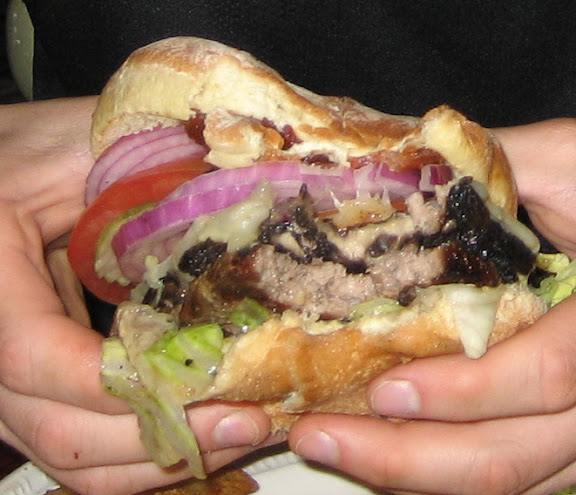
We finally made it to the shore, where we had some snacks and rested for some time. We saw a huge bird in the water and as we looked back at the beautiful landscape behind us, I was gripped by an overwhelming feeling of regret… I reminded myself that our next stop would be Harris Ranch and suddenly, the thought of their mouthwatering burgers gave me the courage to trek back to the parking lot.


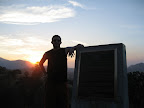
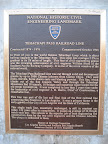
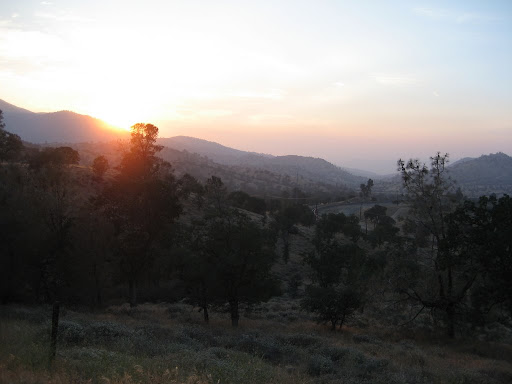
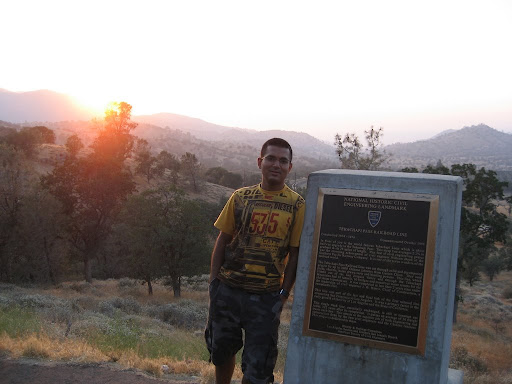
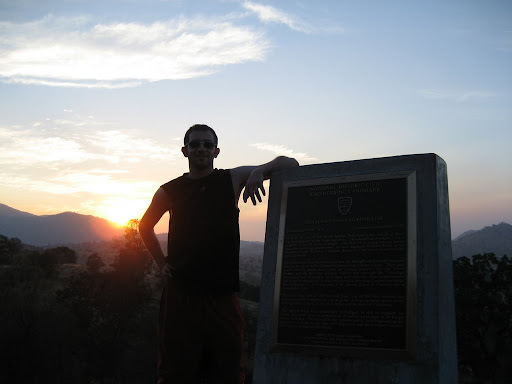
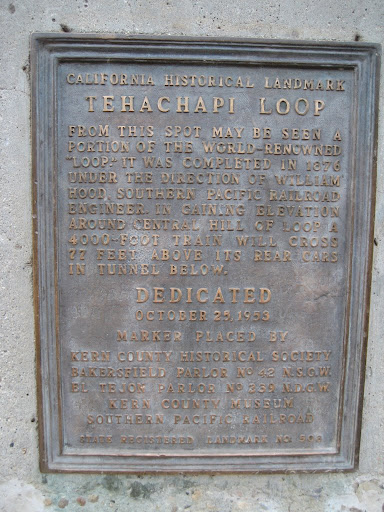
Our next stop would be Tehachapi Loop, one of the seven engineering wonders of the railroad world. After taking an exit marked for Tehachapi Loop, we came upon what I labeled a “wild horse.” I honked at it a few times, but it didn’t seem to be affected.
We stayed at Tehachapi Loop until after sunset, and then resumed our journey.


We left San Jose at around 1pm from Rohit’s apartment. We’d stayed up ‘till 3am loading the car with goodies and making sure we had everything we needed for the long drive. We tried to plan ahead as much as possible. A few days before our departure date, we had compiled a somewhat comprehensive list of everything we needed to bring with us...
Initially, I was thinking we could take at least another two people with us, so I posted an AD through craigslist, however, nobody replied and that turned out to be a good thing, since there was zero space left in the trunk and no room to sit in the back seat.

As part of our planning, we had picked out three spots to stop at along the way to the Grand Canyon.
San Luis Reservoir
Our first stop presented us with an opportunity to do a short hike to a place where I’ve driven by many times over the years. We initially wanted to stop at the trail head for the main trail in the area, but we didn’t feel like wasting our time searching for it; instead, we settled for a parking an alternate route.

After hiking for a few minutes, we had an opportunity to walk where water once covered the ground just a few years ago.
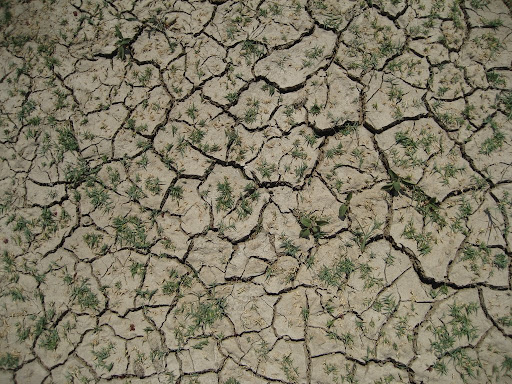
Following a brisk descent, we started walking on sediment to the water source in the distance. Along the way, we found old beer bottles that were probably tossed by fisherman when water covered the ground, and other miscellaneous items.


And it was really hot down there…

We finally made it to the shore, where we had some snacks and rested for some time. We saw a huge bird in the water and as we looked back at the beautiful landscape behind us, I was gripped by an overwhelming feeling of regret… I reminded myself that our next stop would be Harris Ranch and suddenly, the thought of their mouthwatering burgers gave me the courage to trek back to the parking lot.
Our next stop would be Tehachapi Loop, one of the seven engineering wonders of the railroad world. After taking an exit marked for Tehachapi Loop, we came upon what I labeled a “wild horse.” I honked at it a few times, but it didn’t seem to be affected.
We stayed at Tehachapi Loop until after sunset, and then resumed our journey.

Friday, May 9, 2008
Working with MOD Files in Adobe Premiere Pro CS3
 I finally purchased a Canon FS100 Camcorder (just like the FS10 and FS11, but without any built-in memory) for making my famous DIY videos. Great little camera, very happy with it so far.
I found it very convenient to be able to transfer the recorded files over from the SD media to my PC, however, getting the resulting .MOD files (a flavor of MPEG2) into Adobe Premiere Pro proved to be a challenging experience.
Throughout this tutorial, I'm going to assume that you are recording your videos in wide-screen mode in the highest quality setting.
Step 0: Enable Adobe Premiere Pro CS3 to read MOD files
Copy the file ad2ac3dec.dll to the application root of Adobe Premiere Pro CS3.
Step 1: Get the files off the SD media.
Create a folder where you would like to copy your video files (give this folder the name of your project, in this example it will be SampleProject). Simply use either the supplied USB cable to connect the camera to the computer and browse it like an external drive or use a flash memory card reader to read the SD memory card directly.
The video files on the Canon FS series are stored in SD_VIDEO/PRGXXX (in my case it's PRG001), so we want to copy or move the PRG001 folder to the SampleProject folder we created earlier. From now on when I mention the PRG001 folder, I am referring to the local copy, not the copy on the SD card.
Step 2: Rename the MOD files to M2V files
Open the PRG001 folder and copy its address:
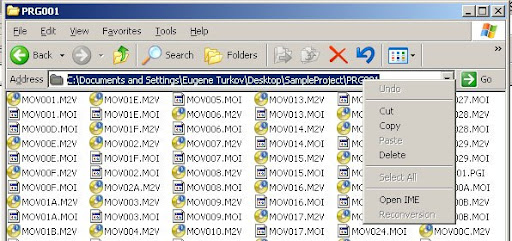
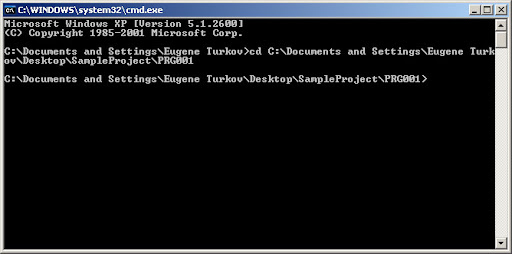
Next, click Start, run, and type in cmd to open up the command prompt application:

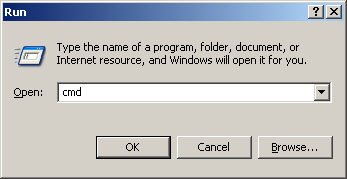
After hitting "OK," the cmd appliation will start. Type in the command cd (change directory) then type a space, right click on the cmd application and select the "paste" option and hit the ENTER key; see below:
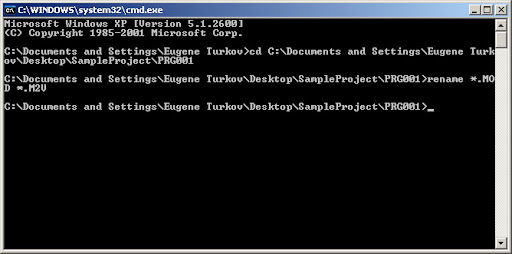
then type "rename *.MOD *.M2V" to rename all of the MOD files to M2V files:
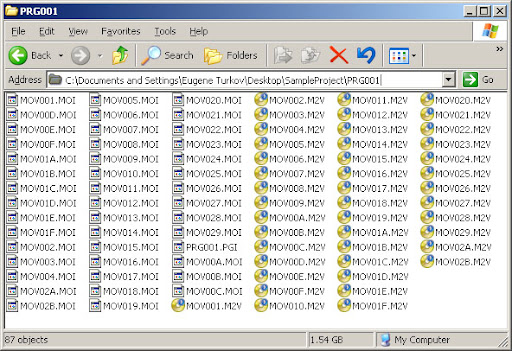
Confirm that your PRG folder now contains M2V files instead of MOD files:
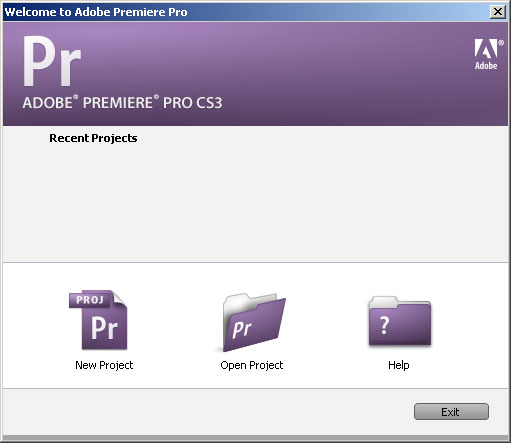
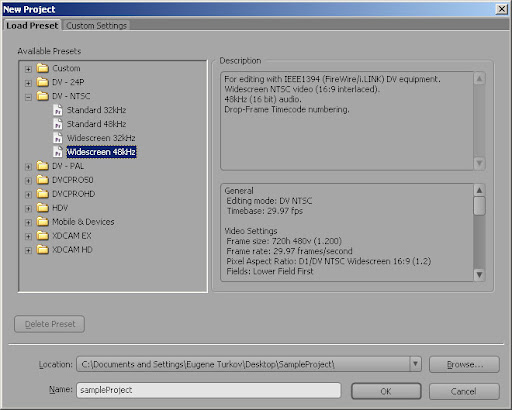
Step 3: Create A New Project
Open Adobe Premiere and select New Project:
Next, select the preset DV - NTSC -> Widescreen 48kHz
For the location field, choose the parent of the PRG folder, and for the name field, use the same name as the parent folder (I also prefer to use a lower case letter as the first letter). Click "OK" to create the project.
Step 4: Import the Video Files
Select File -> Import and browse to the PRG folder. Sort the files by the modified property so that MOV001.M2V is at the top:
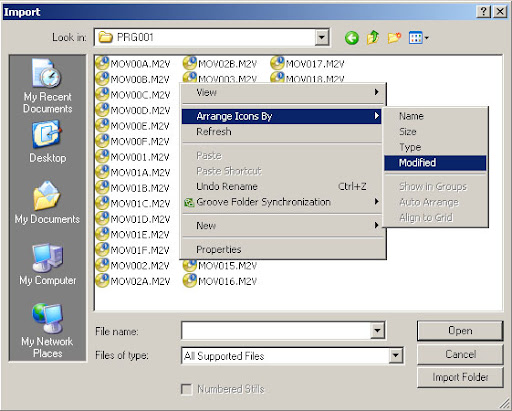
Note that in the above screen shot, the files haven't been sorted yet.
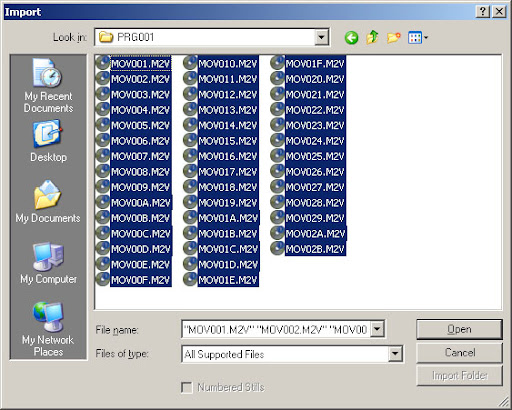
After you have properly sorted the files, select the very last file, then hold the SHIFT key and click on the very first file. The files will be imported correctly now. Just click "OK" to import the files.
Step 5:
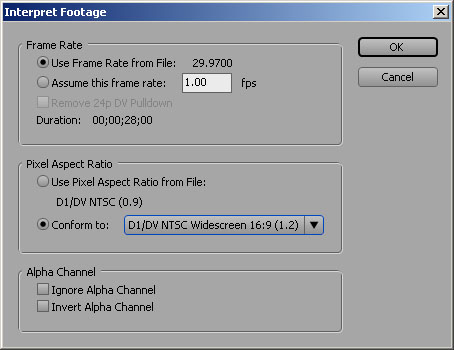
After premiere has finished pre-processing the files, select all of the newly imported files (you can use the same SHIFT + CLICK method as above), right click any one of the selected video files, and choose Interpret Footage...
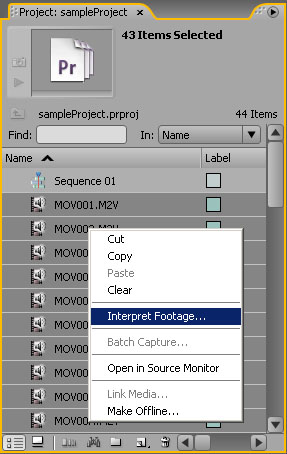
When the Interpret Footage dialog opens, change the Pixel Aspect Ratio to D1/DV NTSC Widescreen 16:9 (1.2) and click "OK"
Congratulations, you are now free to edit & export your video in 16:9 widescreen mode!
Subscribe to:
Posts (Atom)
